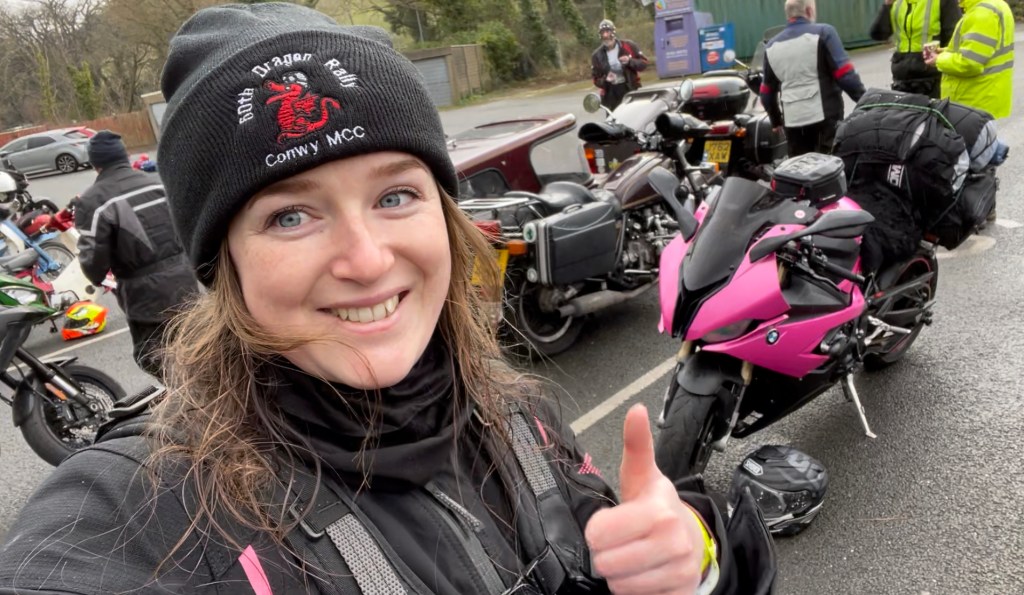
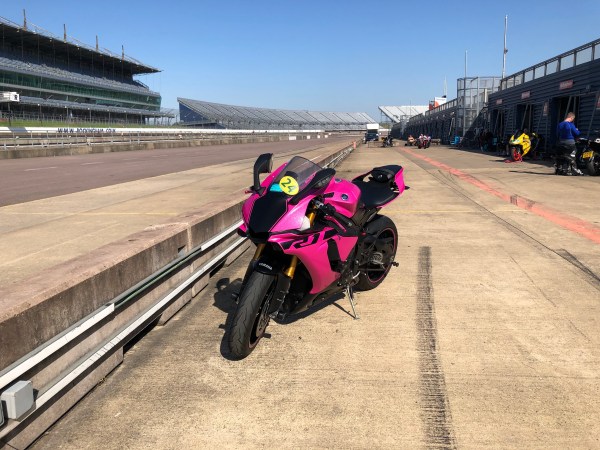
I have already written a sizeable Q&A about my recent journey with my pink S1000RR – you can find it on the Kreiga website, but I wanted to write something for my own web blog too. Daily vlogs are now all on my YouTube channel, I’ve run out of photos for my social media channel and I think my followers are bored of pictures of my bike next to snow, this is the last thing to do before I can mentally move onto something else. In the future I’ll get into the habit of more regularly writing so I can post smaller frequent updates instead of big summaries, for now, here’s basically an essay. Enjoy.
I often get asked ‘why Iceland?’ but it seems that Iceland is an obvious destination choice. I like the cold, I like the challenge of the north and I wanted to do something that few people get to do. I’m fascinated by volcanic landscapes and arctic wildlife and I really enjoy travelling by boat as well as motorcycle, so Iceland it was. Easy.
When I announced my travel plans I received extremely mixed responses, half the reactions were enthusiastic and envious followers telling me that to go to Iceland is their biggest dream, half were more ‘seasoned’ riders telling me I’m an idiot and it’ll be an absolute disaster – no in-between. For me, it was a very obvious next step after my trip to Nordkapp last autumn.

Norway had been my goal for nearly 4 years when I finally went, I had serious tunnel vision, it was going to be the trip that made me, I was stumbling directionless through my late 20s and riding my bike to Nordkapp was, in my head, for some reason going to make everything better. It didn’t, I reached my goal, came home to no noticeable changes, and so I very quickly decided to plan another adventure of similar substance but this time I wasn’t going to wait so long.
Planning this trip should have been a mammoth task but I’m very lazy. I learned a lot going to Norway and putting my new wisdom into practice meant ignoring everything until the day before and hoping for the best – as long as you have internet and a charged phone you can get by pretty easily.
Planning creates room for problems, if you book 3 nights of accommodation and something suddenly changes, you have 3 nights to reschedule or cancel and refunds usually take time to get back to you.
The only thing I needed to plan in advance was the boat to and from Iceland, and the only research I really needed to do was for weather conditions, and this boat. There is one passenger and vehicle ferry going to Iceland, this leaves from Hirtshals in Denmark, stops in the Faroe Islands for a few hours and then continues to Seydisfjordur on the east coast of Iceland before turning around and going back. The crossing to Iceland takes 3 days. The only other way to get to Iceland is to fly and ship your bike or hire something out there.

The ferry isn’t cheap, but there are ways to get a budget crossing by compromising on comfort and season. I chose to travel in May, which is still off-season in Iceland, but it meant I saved more than half the cost of the boat compared to traveling in June. I chose the cheapest bed option which is a bunk bed in a tiny dorm room shared with up to 8 other people. Once on Iceland I’d make decisions based on the weather.
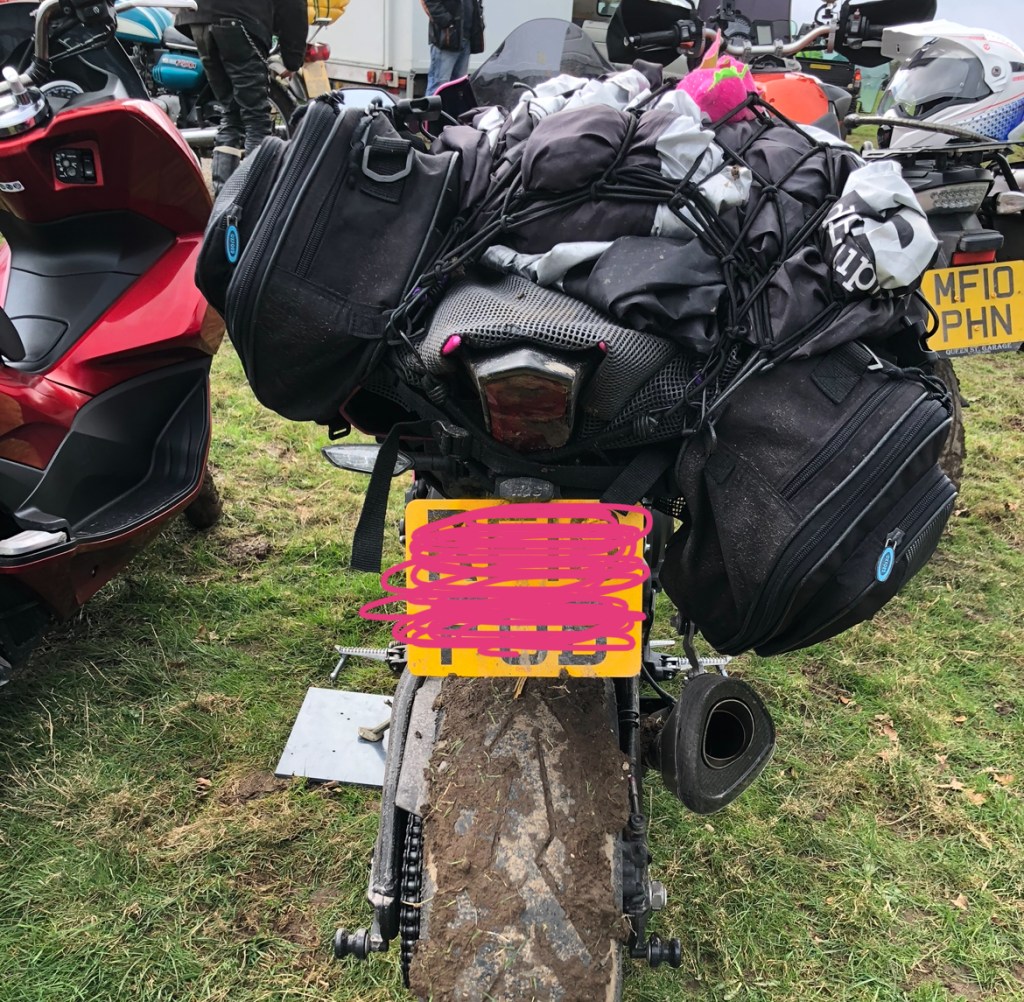
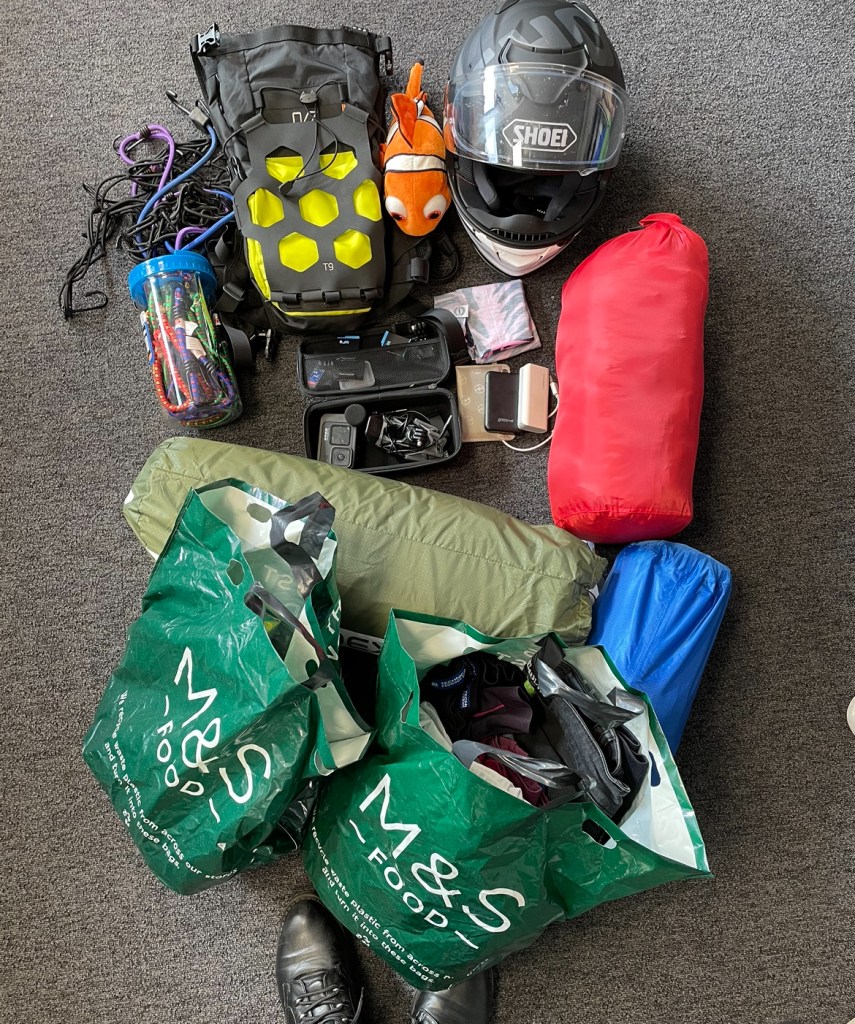
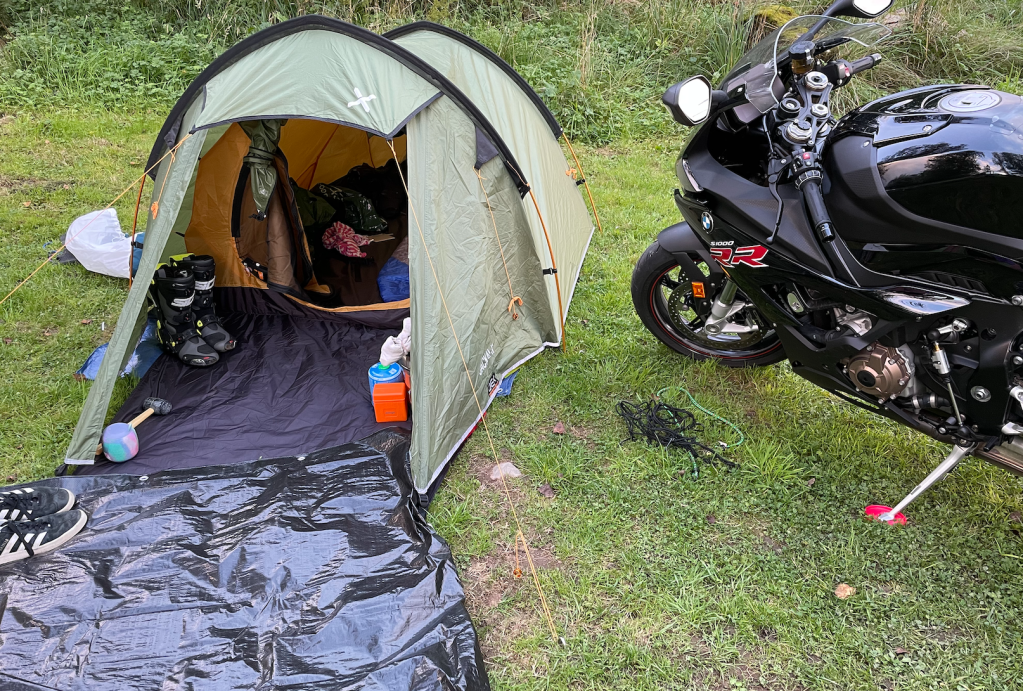
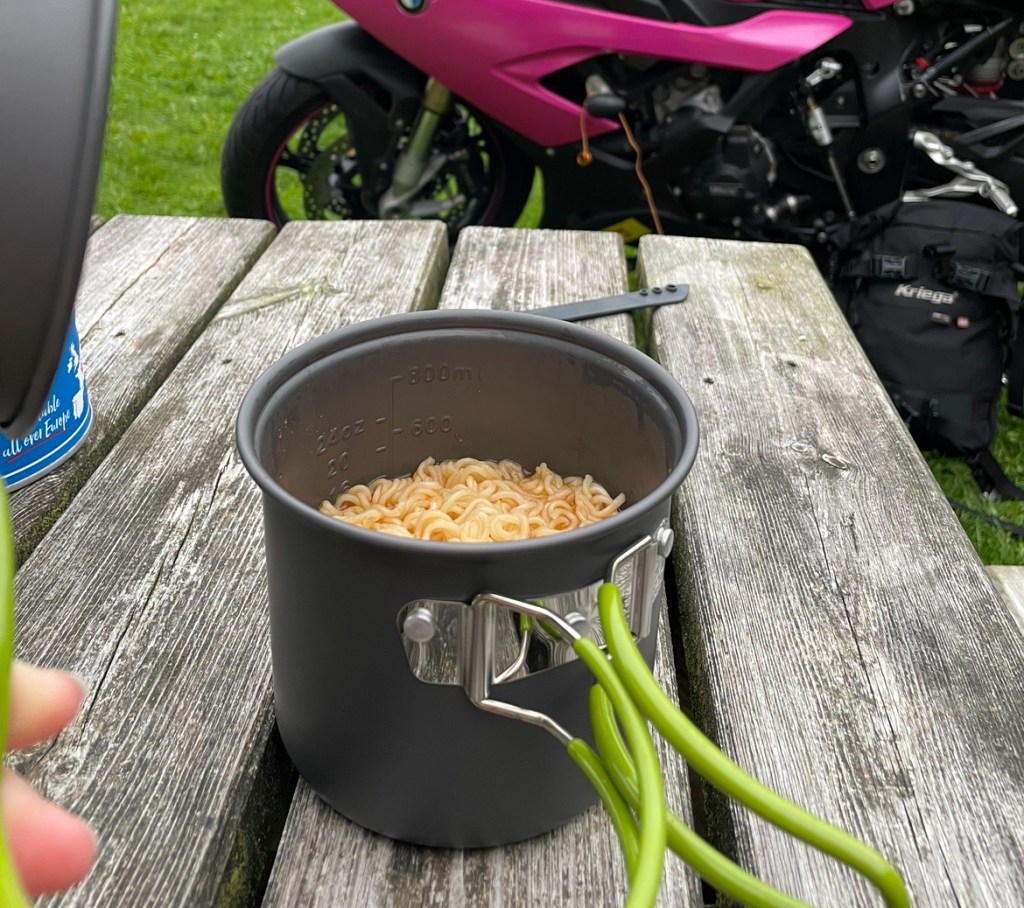
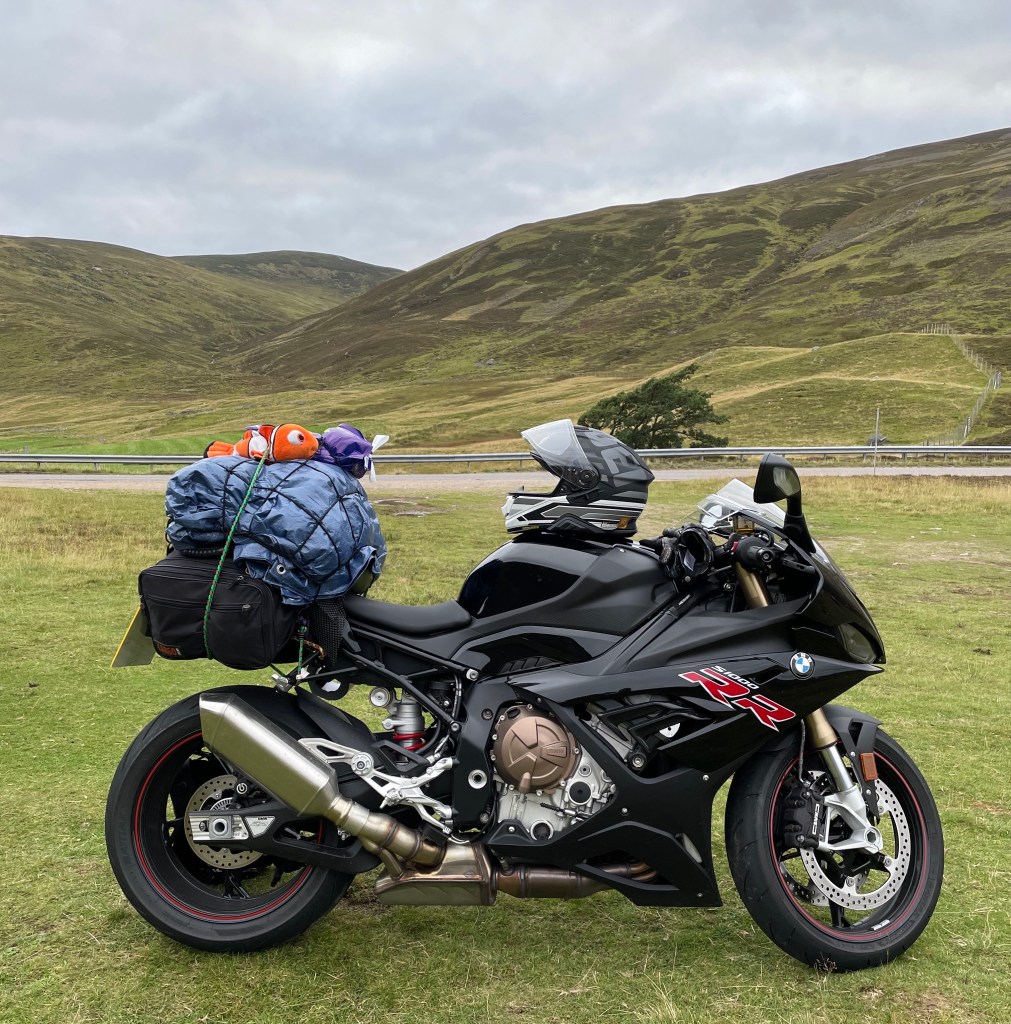
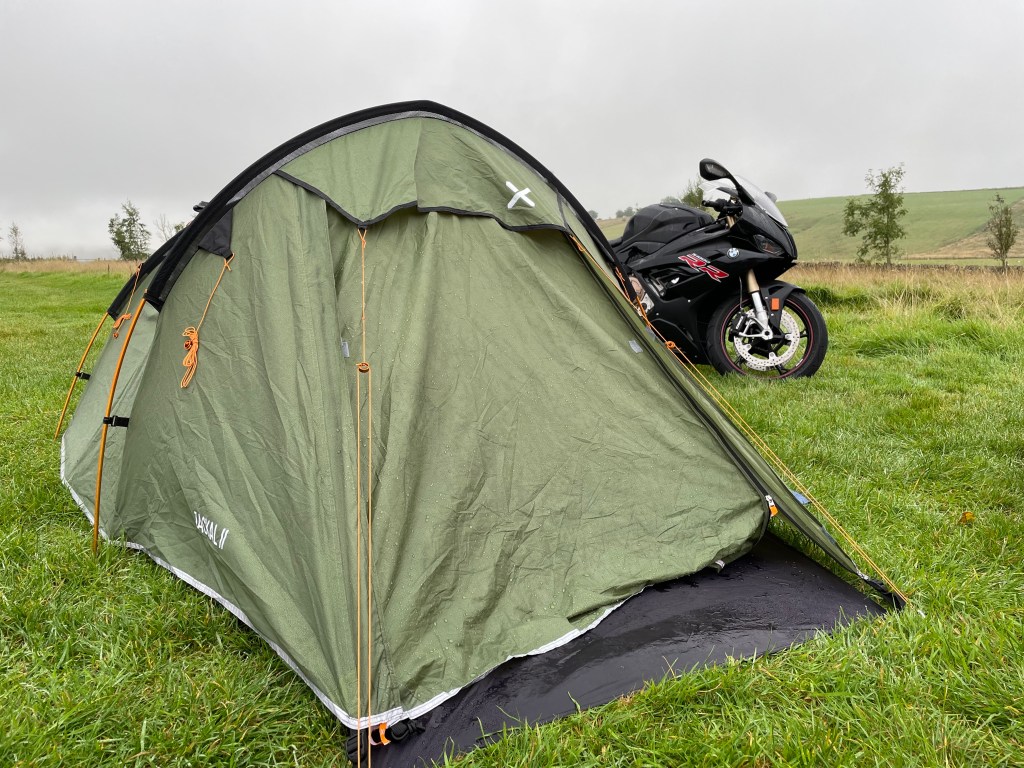
Like with my Norway trip, I carried basic camping equipment in my luggage, my compact tent, two sleeping bags and a spare blanket, but this was for emergencies as I didn’t really plan to camp unless absolutely necessary. I didn’t bother with cooking equipment and planned to eat when I stumbled upon somewhere interesting – I was hoping to eat lots of warming fish soups and hotdogs and carrying noodles around might prevent that. Most of my luggage was filled with warm clothes and back up warm clothes.

In the weeks leading up to my departure, I was nervous, not that I wanted to admit it. I used a few apps and websites to keep a close eye on the weather and road conditions, and the one road I needed to use to get from Icelands ferry port to the rest of the island was persistently covered in snow and not visibly passable. I checked regularly to see that a lot of the roads were closed or marked as dangerous, and the outlook was bleak. Finally, in the week leading up to my arrival things started to look better. The weather conditions and the fear of not being able to leave the ferry port for snow was the only thing causing me worry – maybe because that was such a huge concern there wasn’t room for me to worry about anything else. In the end it turned out to be fine.
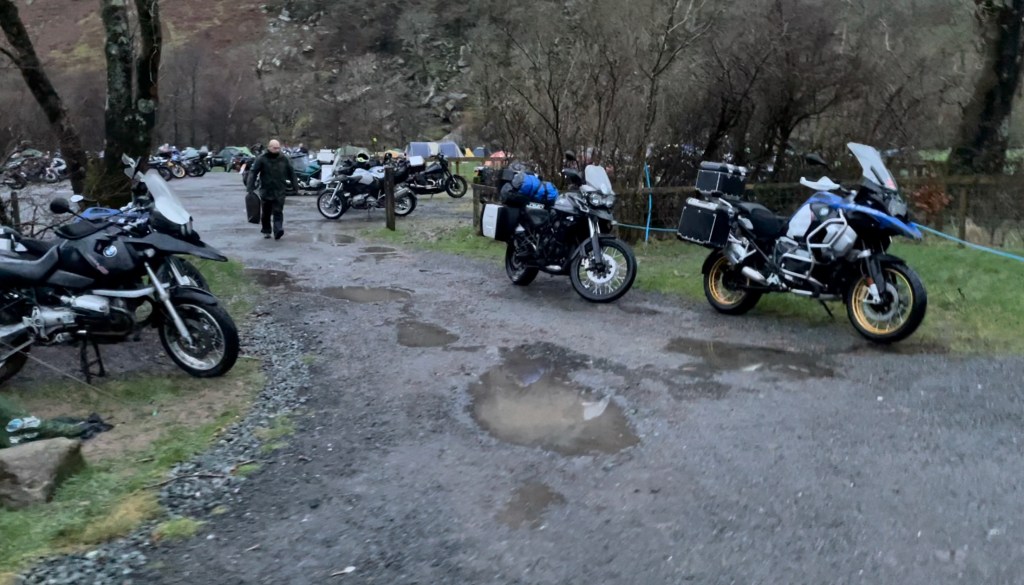
Before boarding the 3 day boat to Iceland, I had to get from England to the most norther point of Denmark, this takes two days of riding through 900 miles and 5 countries and it’s a nice way to get your backside used to long days in the saddle. A long playlist and fully charged headset and the gradual improvement of food options and air quality as I slowly creep further north makes this commute almost enjoyable.

The ferry for Iceland is huge, more like a small cruise ship with 8 levels for cars, lorries, cabins and restaurants. I chose the budget experience, but there are lots of options for fancy cabins or suites and posh meals in a gourmet restaurant. It took a while for me to learn my way around the ferry, the cheap sleeping quarters are under the car deck at the bottom of the boat, far far away from everything else but the wifi still worked and the noise wasn’t too bad so I was very happy with my money saving choice. The shared rooms (called couchettes) don’t include bedding, but I was carrying my camping equipment so it was no problem to pull my sleeping bag and pillows off the bike for the 3 night crossing. The boat sails for 2 nights before arriving at the Faroe Islands where some passengers disembark, and I was able to jump off for a few hours to explore the harbour town and grab some cheap snacks (the ferry knows it has a captive audience and charges a ridiculous amount for food). 1 more night and the boat is making its way to Iceland. The crossing was smooth, I suffered no travel sickness.

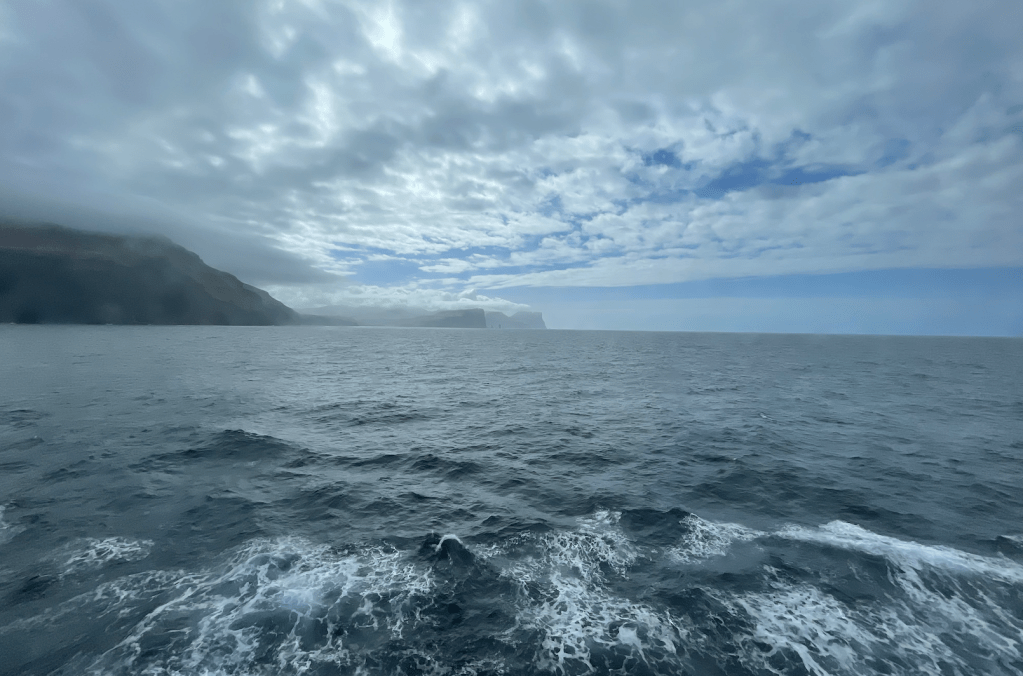
Arriving into a new county by boat is special, the sea is flat and empty for days and then the tiniest suggestion of land peeps up in the distance and for a while it looks like it might not even be there, then after an hour the shape of the land starts to grow until it’s towering over you. The same probably can’t be said for flat places where the first signs of land is the port town – streetlights and buildings, but for this crossing the first visible land is huge snow covered hills forming a funnel towards the small town where the boat journey ends. For an hour the boat slowly travelled through this channel and everybody on board was stood out on deck or at windows taking in their first views of Iceland, the atmosphere was electric as most of us were visibly excited while trying to stay warm in the suddenly very cold air. In the 3 days that we’d been on the boat we’d gone from an early summer heatwave in Denmark to a still wintery Iceland. Everything was topped with snow, the air was clear and crisp, there were no buildings or roads visible until we reached the port.
My expectation for the weather was rocky, I knew May was a potentially dangerous time to go – not quite summer, not quite winter, anything could happen and I knew a lot of the island was still snowy with many of the central roads closed. The internet told me that despite this, the roads would probably be safe and the temperature would be above freezing during the day and so as far as I was concerned that would be good enough. I’d made peace with the probability that I wouldn’t get to see the north of the island, and assumed I’d enjoy the slightly warmer south half, make it to Reykjavik and then head back. I had a pony ride booked on the south west side of Iceland and so the most important thing was that I’d make it to that and back to the boat in once piece. I had 8 days before my return to Denmark which is enough days to make it round the islands main ring road and that was my hope if the weather was good enough.

After checking the forecast I decided along with some other motorcyclists on the boat that the north side of the island would be safe, I was very happy about this – I’d be able to do the complete ring road of Iceland.
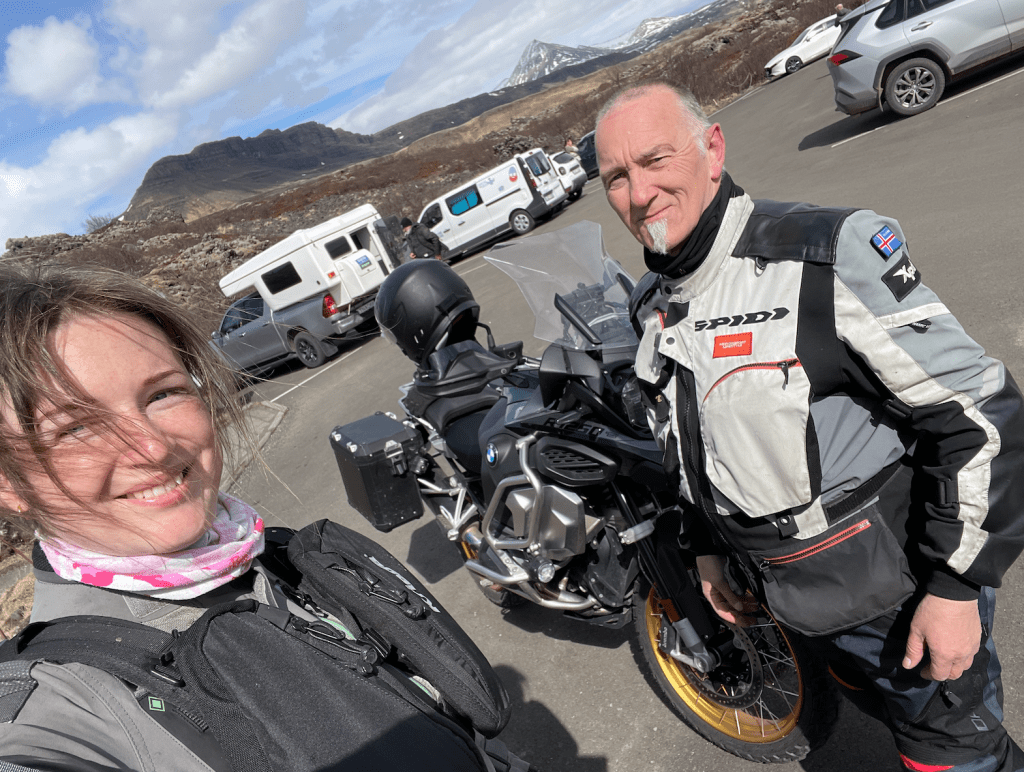
Disembarking from the boat which had been home for 3 days took a little while, the weather on the sea had been cold but once on the ground (which had no snow on it) in the queue for border control it was warming up. My first surprise was that I was met by a stranger on a Harley Davidson, a local man had worked out which boat I was on and when it would arrive and had made the journey out to meet me. His name was Egill and he said he was going to ride with me to the first petrol station on my journey and continue with me for a little while.

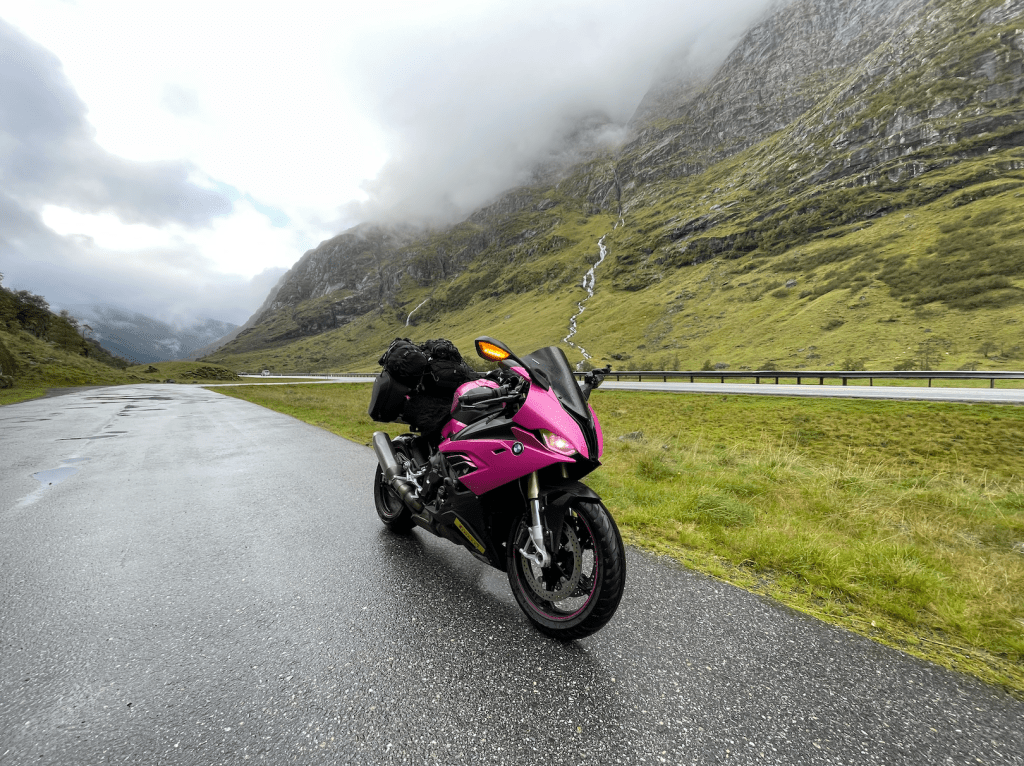
I was very grateful for Egill as his presence set the tone for the riding for the whole trip. I’d been told to be wary of speed limits for a few reasons, firstly that the police are hot on speeding, and also because the ground could be frozen. The first road away from the dockyard is a mountain pass, high, beautiful and full of twists and turns the roads were completely surrounded by thick snow. Usually when presented with these circumstances I’d be absolutely terrified, I’d wobble round at 30 fearful that invisible ice would be lurking or that the bike would sense snow and fall over. With Egill leading the way I learned two things very quickly – first that no one really cares how fast you go, and second that the roads weren’t slippery. Following Egill fixed my confidence riding on the mountain roads very quickly and soon I was riding as I normally would, overtaking slower caravans and enjoying the corners. The snow was stuck to the hills but the tarmac was beautifully dry and warm from the sun. My new friend left as I took the road north, the caravans from the boat had dispersed and I was suddenly completely alone on a snowy road far away from anything – it was perfect.

It is notable that traveling around the main route on Iceland is easy. Fuel stops are frequent enough for me and my 150-ish mile tank, even in unpopulated areas there are unmanned 24 hour petrol pumps. Motorcyclists don’t pay toll charges and I only encountered one tunnel with such a charge for larger vehicles. At no point on the main route was I without phone signal, and even at times where I was completely alone – while I was on the main route during the day I never felt vulnerable. Despite not seeing much traffic, I’d still pass other vehicles or see people stopped in rest areas and often if I was stopped somewhere, passing vehicles would slow down to check I was ok.

For 3 days I travelled steadily along the northern route, anti clockwise round Iceland. It was peaceful, silent, cold and mostly dry. I was introduced to things normal in Iceland that I’d never seen anywhere else, strange landscapes, dirt routes (Which I managed to avoid), roped off areas where steam and boiling mud bubbled out of the ground, volcanoes looming in the distance. The air was always cold, I made good use of my heated Keis clothing and I was comfortable enough.

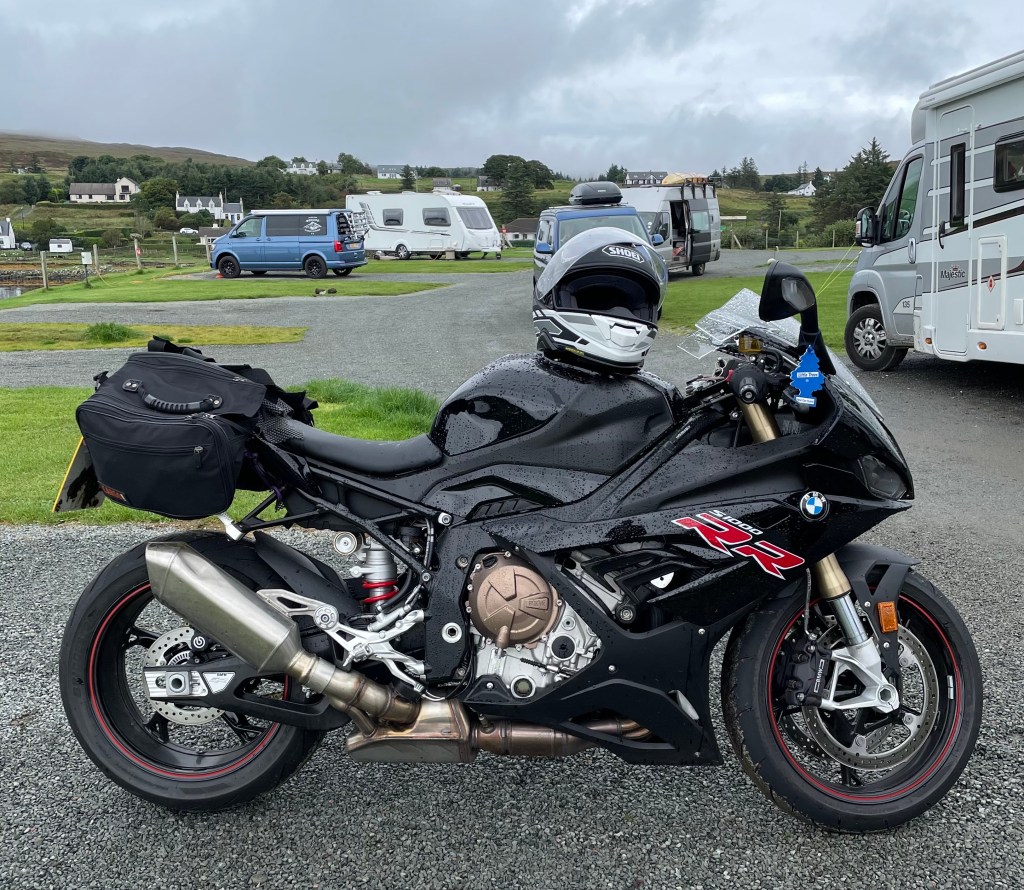
Halfway through my 8 day loop I reached Rekjavik, I needed to be in the area for my planned pony ride, and some locals had invited me to spend time with them and their bike club in the city. Since announcing my travel plans on my Facebook page I’d been in touch with people in Iceland offering advice and so I met with a group who are part of one of the motorcycle clubs on the island, I was shown to their club houses and we went for lunch, then I was invited to spend the night in a members home. The weather was at its worst on these days, we rode around the city in a surprising amount of slow traffic getting pelted with rain (my kit is very good, I stayed warm and dry).

I’m amazed at how accommodating and helpful people were, everyone I met was immediately so generous and kind and willing to have a conversation. The bikers taught me about life on the island and what it’s like to be a motorcyclist over there and the things you should look out for, Air BnB hosts sat with me to talk about their upbringings, their homes and their horses.
The following day was my pre-arranged pony ride. A pony ride wasn’t in my budget, but I’d recently turned 30 and my friends had clubbed together to buy me a voucher! Horses are my first love but that passion has unfortunately been shelved since childhood, so a 2 hour trek on a pony in Iceland meant the world to me! I was paired up with a tiny cream coloured Icelandic horse (for some reason despite not meeting the height criteria to be called a horse, Icelandics are named ‘horses’ and not ponies and people get quite upset if you get it wrong, however, for the purpose of the reader visualising the correct thing, I’m referring to them as ponies in this blog.) and wearing my motorcycling outfit and boots we joined a group of about 10 people to ride in the rain around some countryside while our guide tried to shout historical facts over the wind.

After my ride I reunited with my bike and we continued east along the southern route of the island. A notable weird thing that happened immediately after my pony ride, I was stopping for fuel on the edge of town and a van pulled up next to me. The side doors opened and out fell 10 men who swarmed round the bike and started shaking my hand and cheering at me, while one filmed. One man was dressed in a little girls party dress with pigtails and he said they were from a biker club – not one I recognised from the day before but they knew who I was, less than a minute later they climbed back into the van and shot off. The whole thing was completely bizarre and as I didn’t recognise or have time to remember the club logo, I couldn’t ask my friends from Reyjavik who they were or what that was all about. I still haven’t found out or seen the videos.
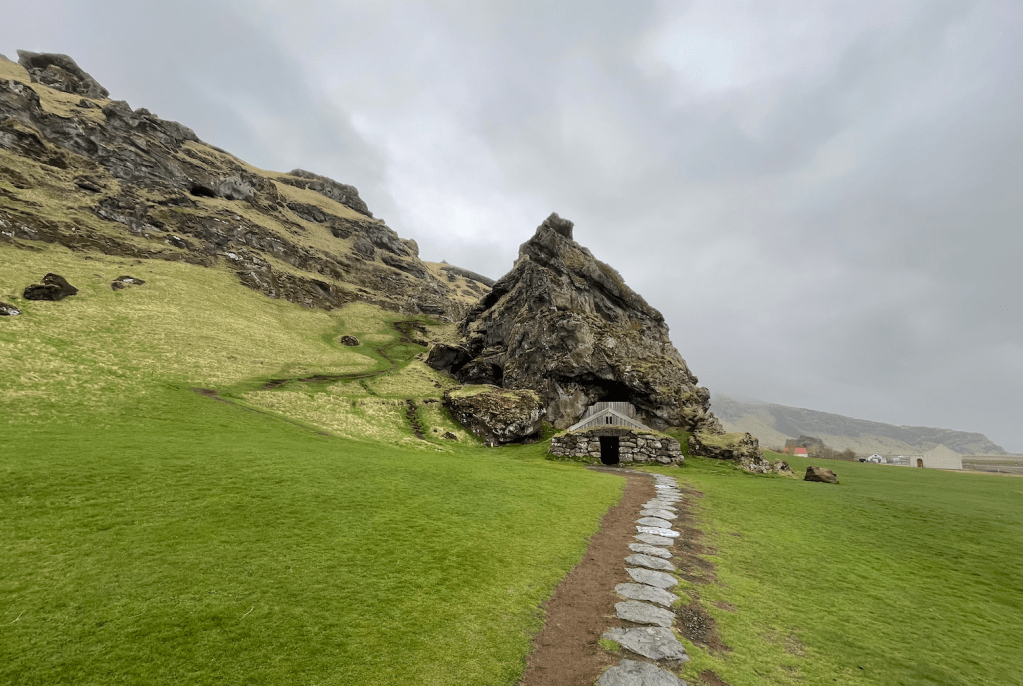
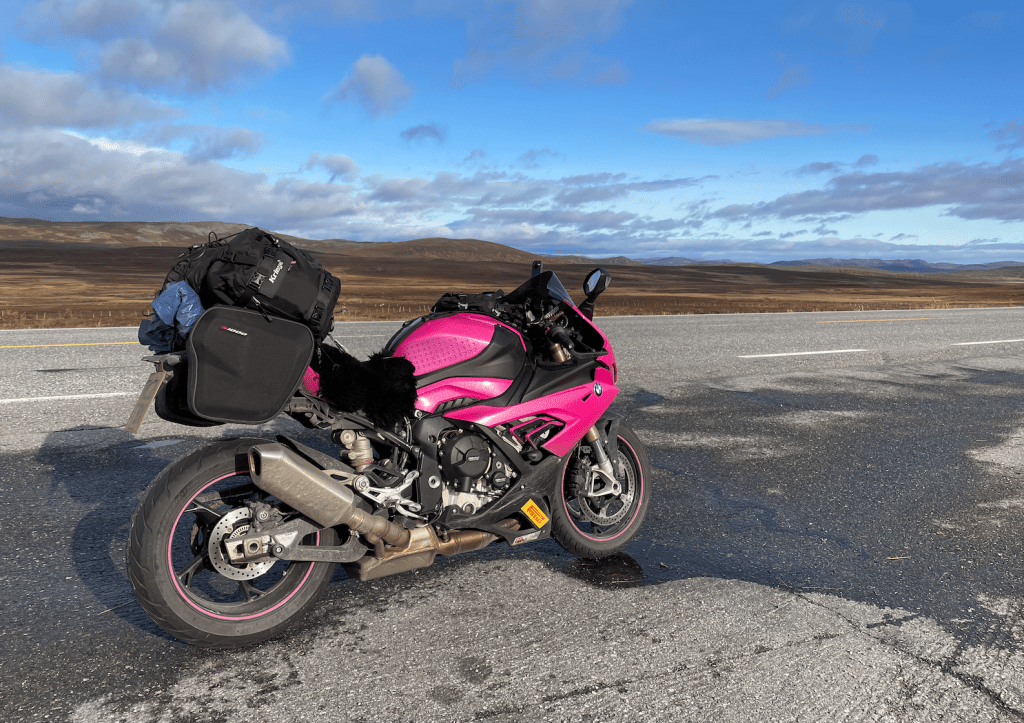
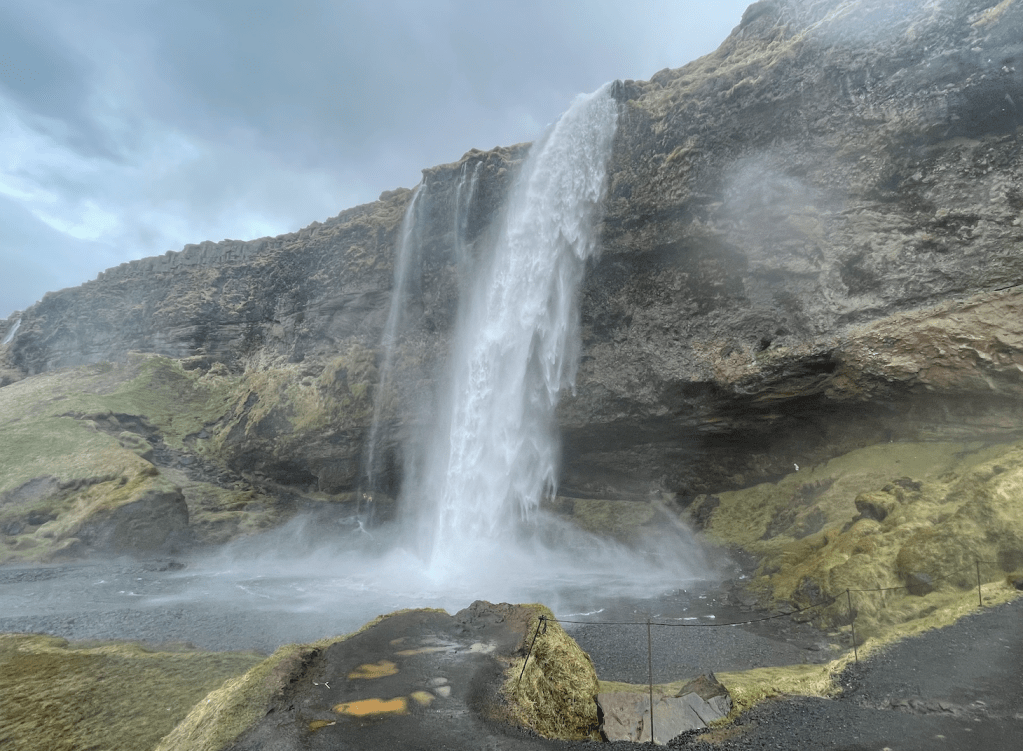
The mood on the south side of the island was very different from the north. The temperature was warmer, I no longer needed my heated clothing, but it was a lot wetter and the wind had picked up. The roads were busier with tourists and along this stretch were more beauty spots including huge waterfalls, glaciers and geysers. I made a point of stopping at as many as I could find that didn’t take me too far off my route east. The further east I got the quieter the roads were.
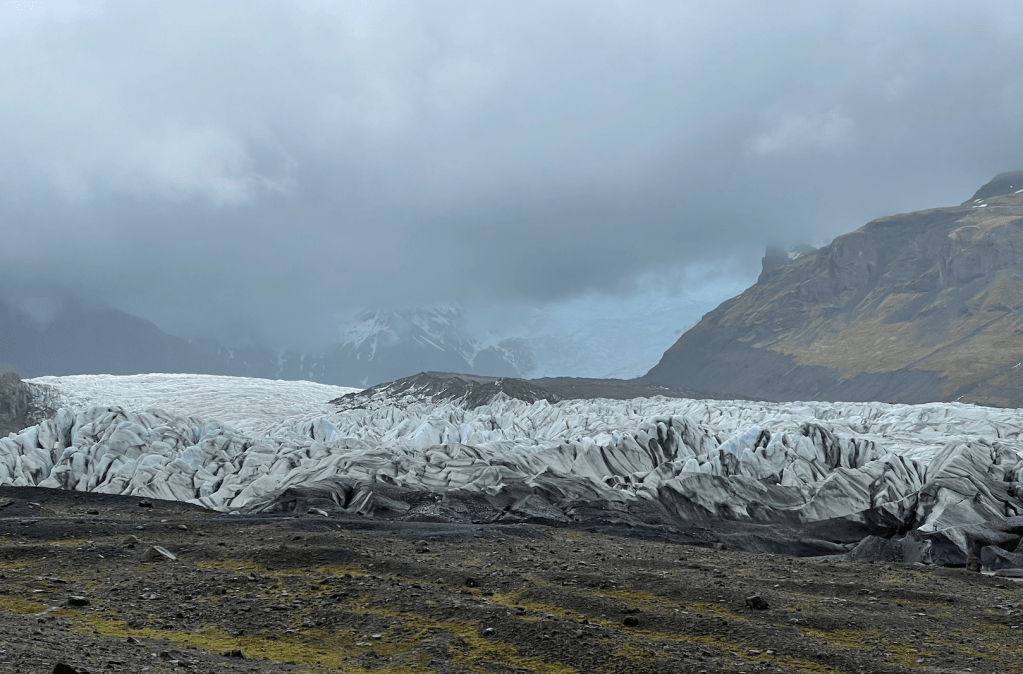
There was one part of Iceland that I was most excited to see, a huge glacier that comes down almost to the road which I’d been drooling over on Google maps in the run up to the trip, for whatever reason this had fascinated me from the start, but in order to get to it I had to go through the most challenging bit of road, at least for me. I was warned by a few people that this bit of road would catch out ‘even the most experienced’ riders and drivers, the road is long, covering flat lands parallel to the coast with ocean wind sweeping across the ground and up into the mountains further inland. It was going to be a battle to keep the bike going straight while manoeuvring round slower vehicles and keeping an eye out for wildlife – geese in particular were a nuisance at the sides of the roads. I dedicated a full day to getting through this portion of the island, it was unpleasant but not the worst experience of my life and once the road re-entered the hills where it was sheltered from the sea wind, I was rewarded with my glacier.
Further east still I was met with a surprise, an animal I didn’t even realise lived on Iceland (thanks to my lack of research but I should have known this) – reindeer! I saw a small herd in the distance and got very excited, and then suddenly they were everywhere, in the roads, in the villages, not worried at all by their surroundings although eager to get out of the way when interrupted by a pink motorcycle.

I was hoping to see puffins, but unfortunately those stars didn’t align and when I stopped in a small fishing village specifically to find them, I only saw fancy Icelandic ducks. My favourite spot of the trip was an arctic fox, I’d recently watched a nature documentary and learned that arctic foxes often hunt for fish in the low tides and so I knew to keep an eye on the beach while riding along the coast, and that information paid off – I saw a small red fox sniffing through the rocks looking for a meal.

As I reached the east coast returning to the boat the roads went back to being quiet and empty, in some places twisty and so my bike enjoyed some corners and faster riding, eventually reaching the town where we started. I like to make sure I have enough time at the end of every day to put on my trainers and go for a walk so I can explore the area on foot, Iceland has lots of little tourist traps selling wool jumpers, jewellery made from stones and other little trinkets. Everywhere is walkable, I was always able to find trodden paths to explore that would lead to little waterfalls and view points and I spent a lot of time sat on rocks watching the sea hoping to see whales or puffins.

It’s rare to recognise happiness in the moment, usually I’m thinking about the next stop, the next obstacle, the next big thing – or I’m quietly panicking and not giving myself an opportunity to soak up the reality of where I am and what I’m doing. In Iceland there were many occasions where I took a break from thinking about what was happening and allowed myself to just feel happy. Riding through snowy landscapes, the quiet broken only by my bikes engine cutting through the clean cold air is soothing and I was able to let go of a lot of worry and stress that’s been clinging on. Iceland was truly therapeutic for me and my usually busy and cluttered mind.
As well as feeling peaceful and happy, on returning to the boat I allowed myself to feel smug. I was smug because I remembered a lot of people telling me that the trip to Iceland in May on an S1000RR was a terrible idea, but I’d done it anyway, I’d got round the island in one piece. I was extremely lucky with the weather, aside from cold and rain which I’m happy to deal with, nothing horrendously challenging had occurred and I was going to make it home.

I was truly sad to leave Iceland, I treated myself to a more expensive place to spend my last night – a cosy bunk house with big windows so I could sit in the communal area and watch the town, which now had my boat docked and waiting to take me home. I was sad that I was only able to spend 8 days there, another week could have allowed me to explore more of the routes that I missed including the Westerfjords, and I could have been more adventurous in my route choices knowing what I now know about the roads and the bikes capabilities.

I went home using mostly the same route as the way there, the 3 day boat, the long motorways through Denmark, Germany and so on. I did stop in the Netherlands and meet my friend Bob who showed me his local twisty roads (who knew the Netherlands had corners), and then continued onto France to catch my usual late night ferry into England.
All in all, I spent £2,500(about) on my Iceland adventure. The trip took 21 days, with only 8 days actually on Iceland. The bike travelled 3,000 miles.
3 months on from my trip, my RR is in for her 24,000 mile service and her first MOT! I can’t believe I’ve had her now for 3 years. While in the garage for her service a few things needed to be fixed and replaced. A recurring problem with her forks has now lead to replacement fork stanchions, another leak was fixed, and finally a cooling problem resulted in her needing a new radiator and oil cooler. She’s been in the garage for 2 months while I’ve been enjoying other bikes and I’m looking forward to finally getting my own bike back. I have a rough outline in place for the next trip, and as usual I’m leaving any planning until the last minute – or maybe I won’t plan anything at all. I have a date I can leave, a date that I need to be home before, and I’m tempted to go and make something up as I go along – depending on the weather…kinda.